Learn about the different content templates when building a lesson
Watch this tutorial video for an overview of content templates in lessons and examples, but scroll down for more details.
- List Slide, used for lists with subtitles and descriptions
- Bullet Points, used to list important points
- Media Upload, used to upload text, images, video, and audio
- Image Sequencing, used to swipe through several images on one slide
- Image Breakdown, used to zoom in on different areas of one images

To add any of the following content slides, enter into the lesson or quiz editor, click Add New Slide, then select the content template. Continue to learn more about the different content slides.
List Slides
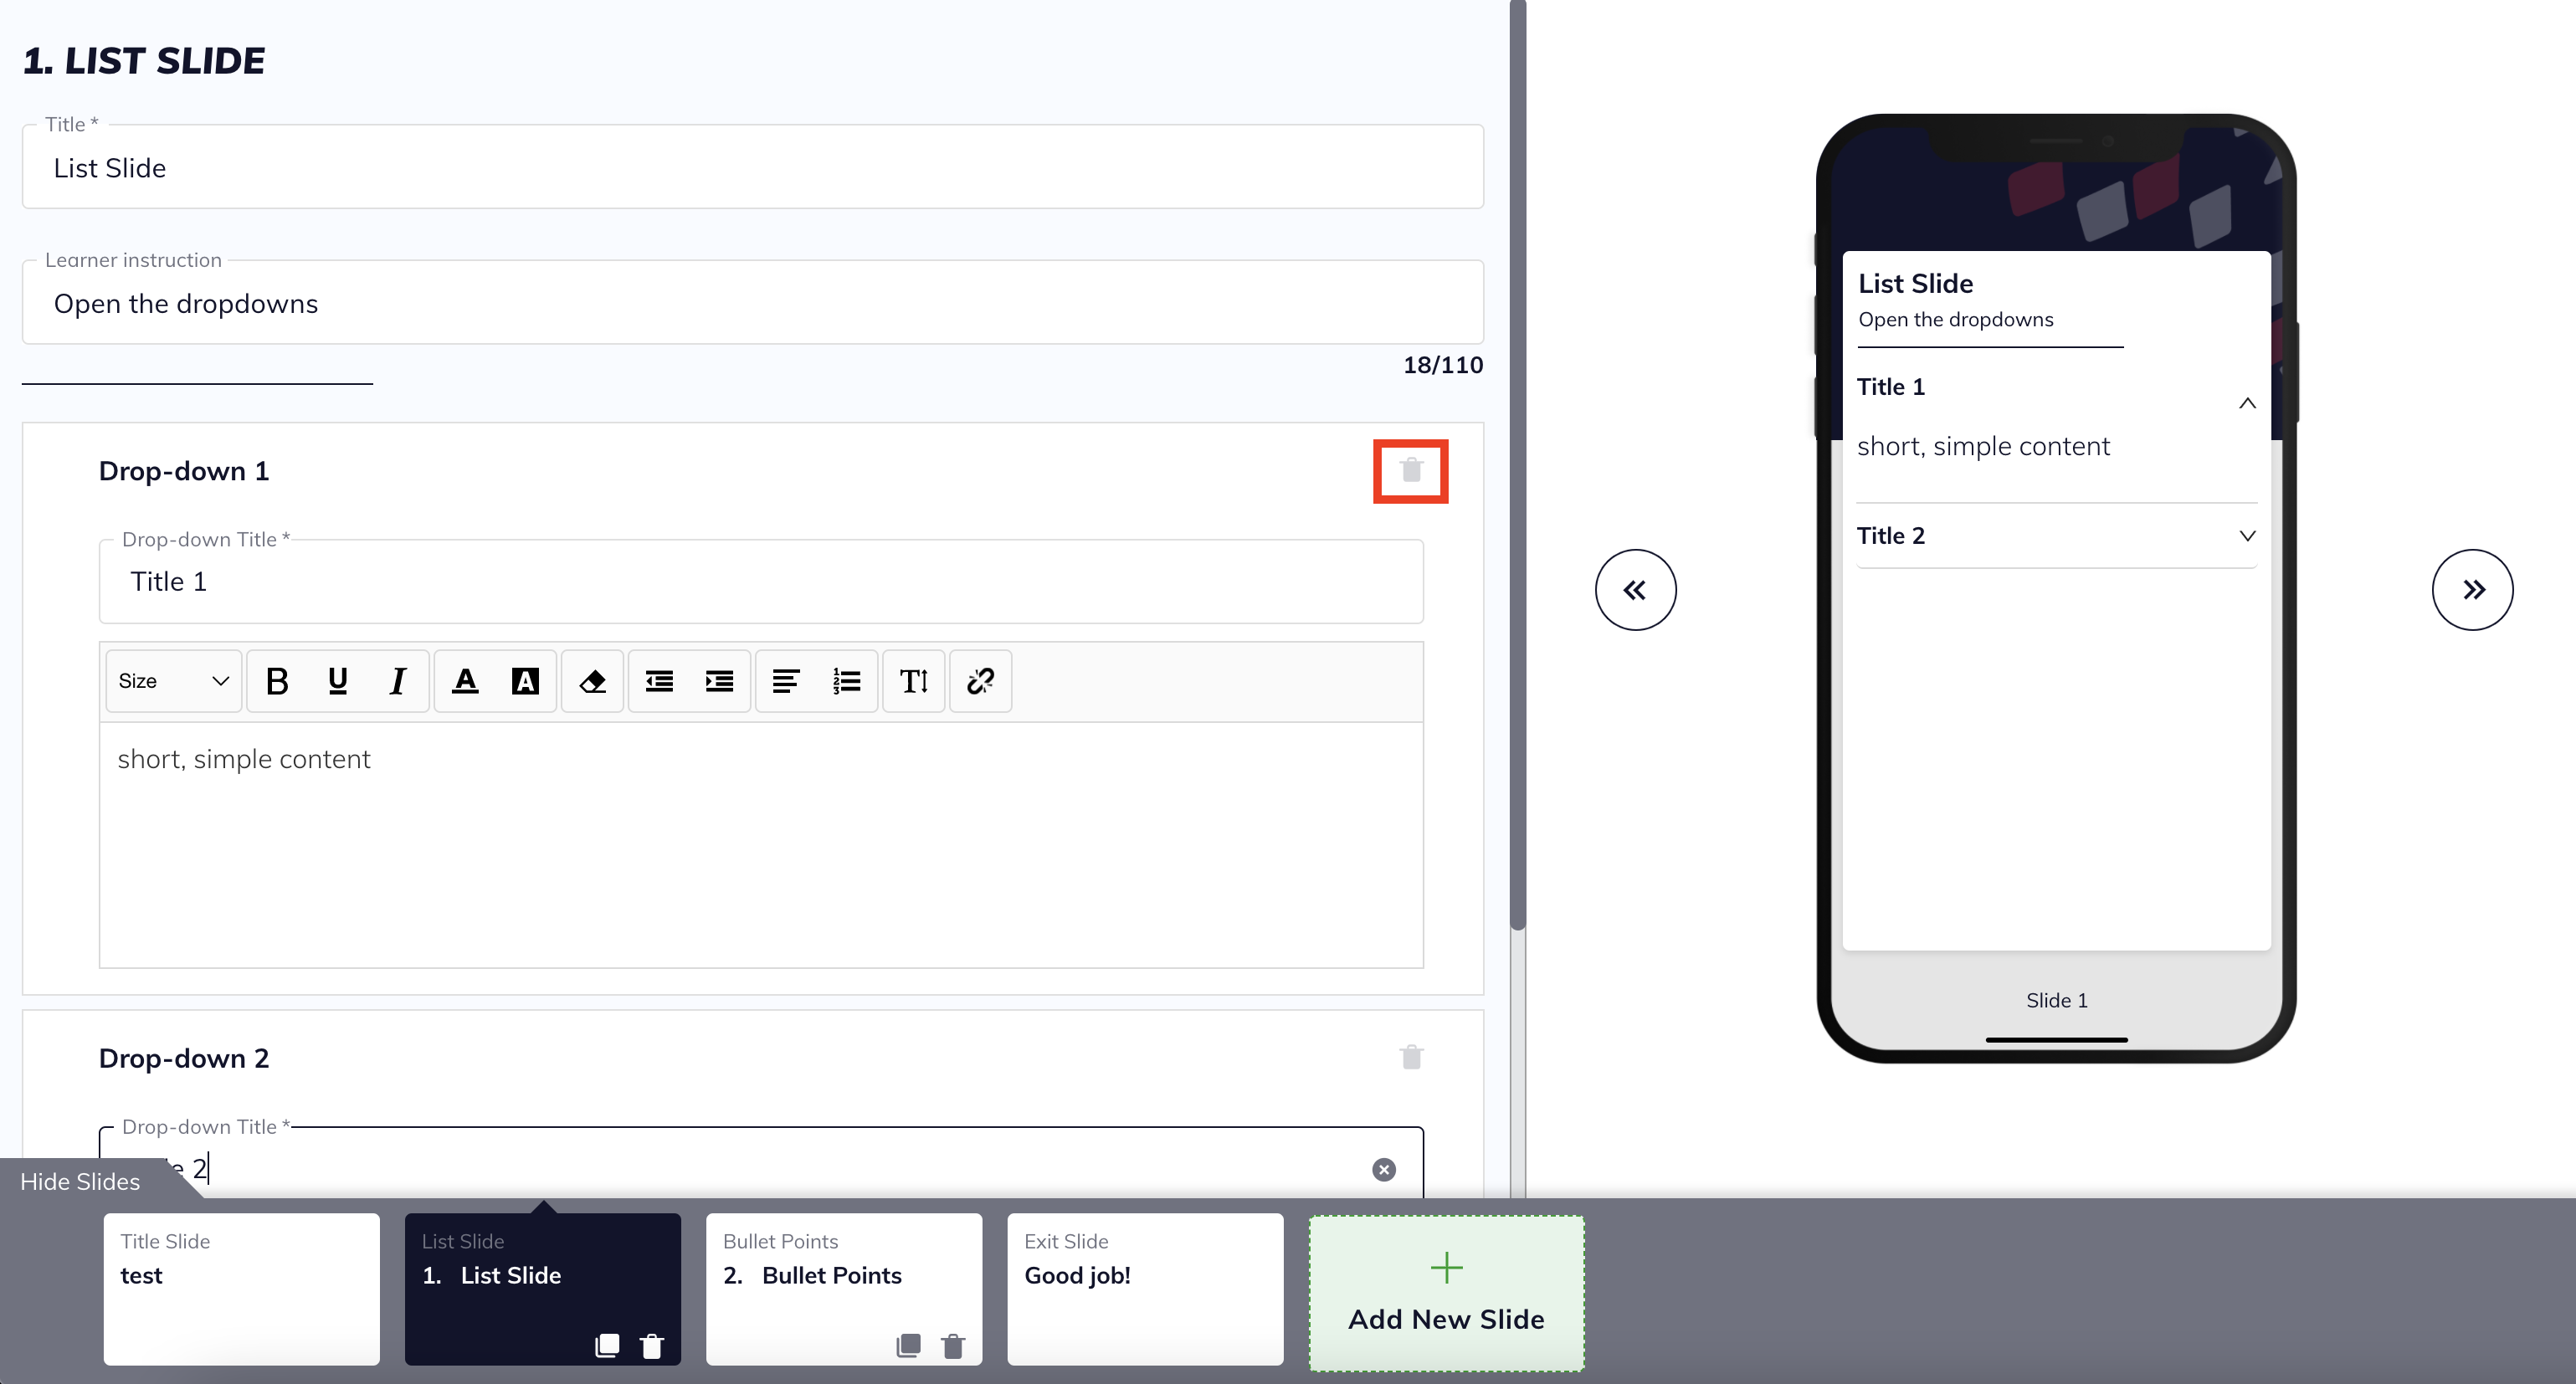
List Slides allow you to create dropdown menus with Drop-downs Titles and details for each title. Users cannot move to the next slide until they have clicked through all of the Drop-down Titles.
Once you’ve created a new lesson and started editing, click Add New Slide and select List Slide from the template options.
Fill in the material in the editor.
To delete a Drop-down Title, click the trash can icon in the right hand corner of the editor box.
Bullet Points
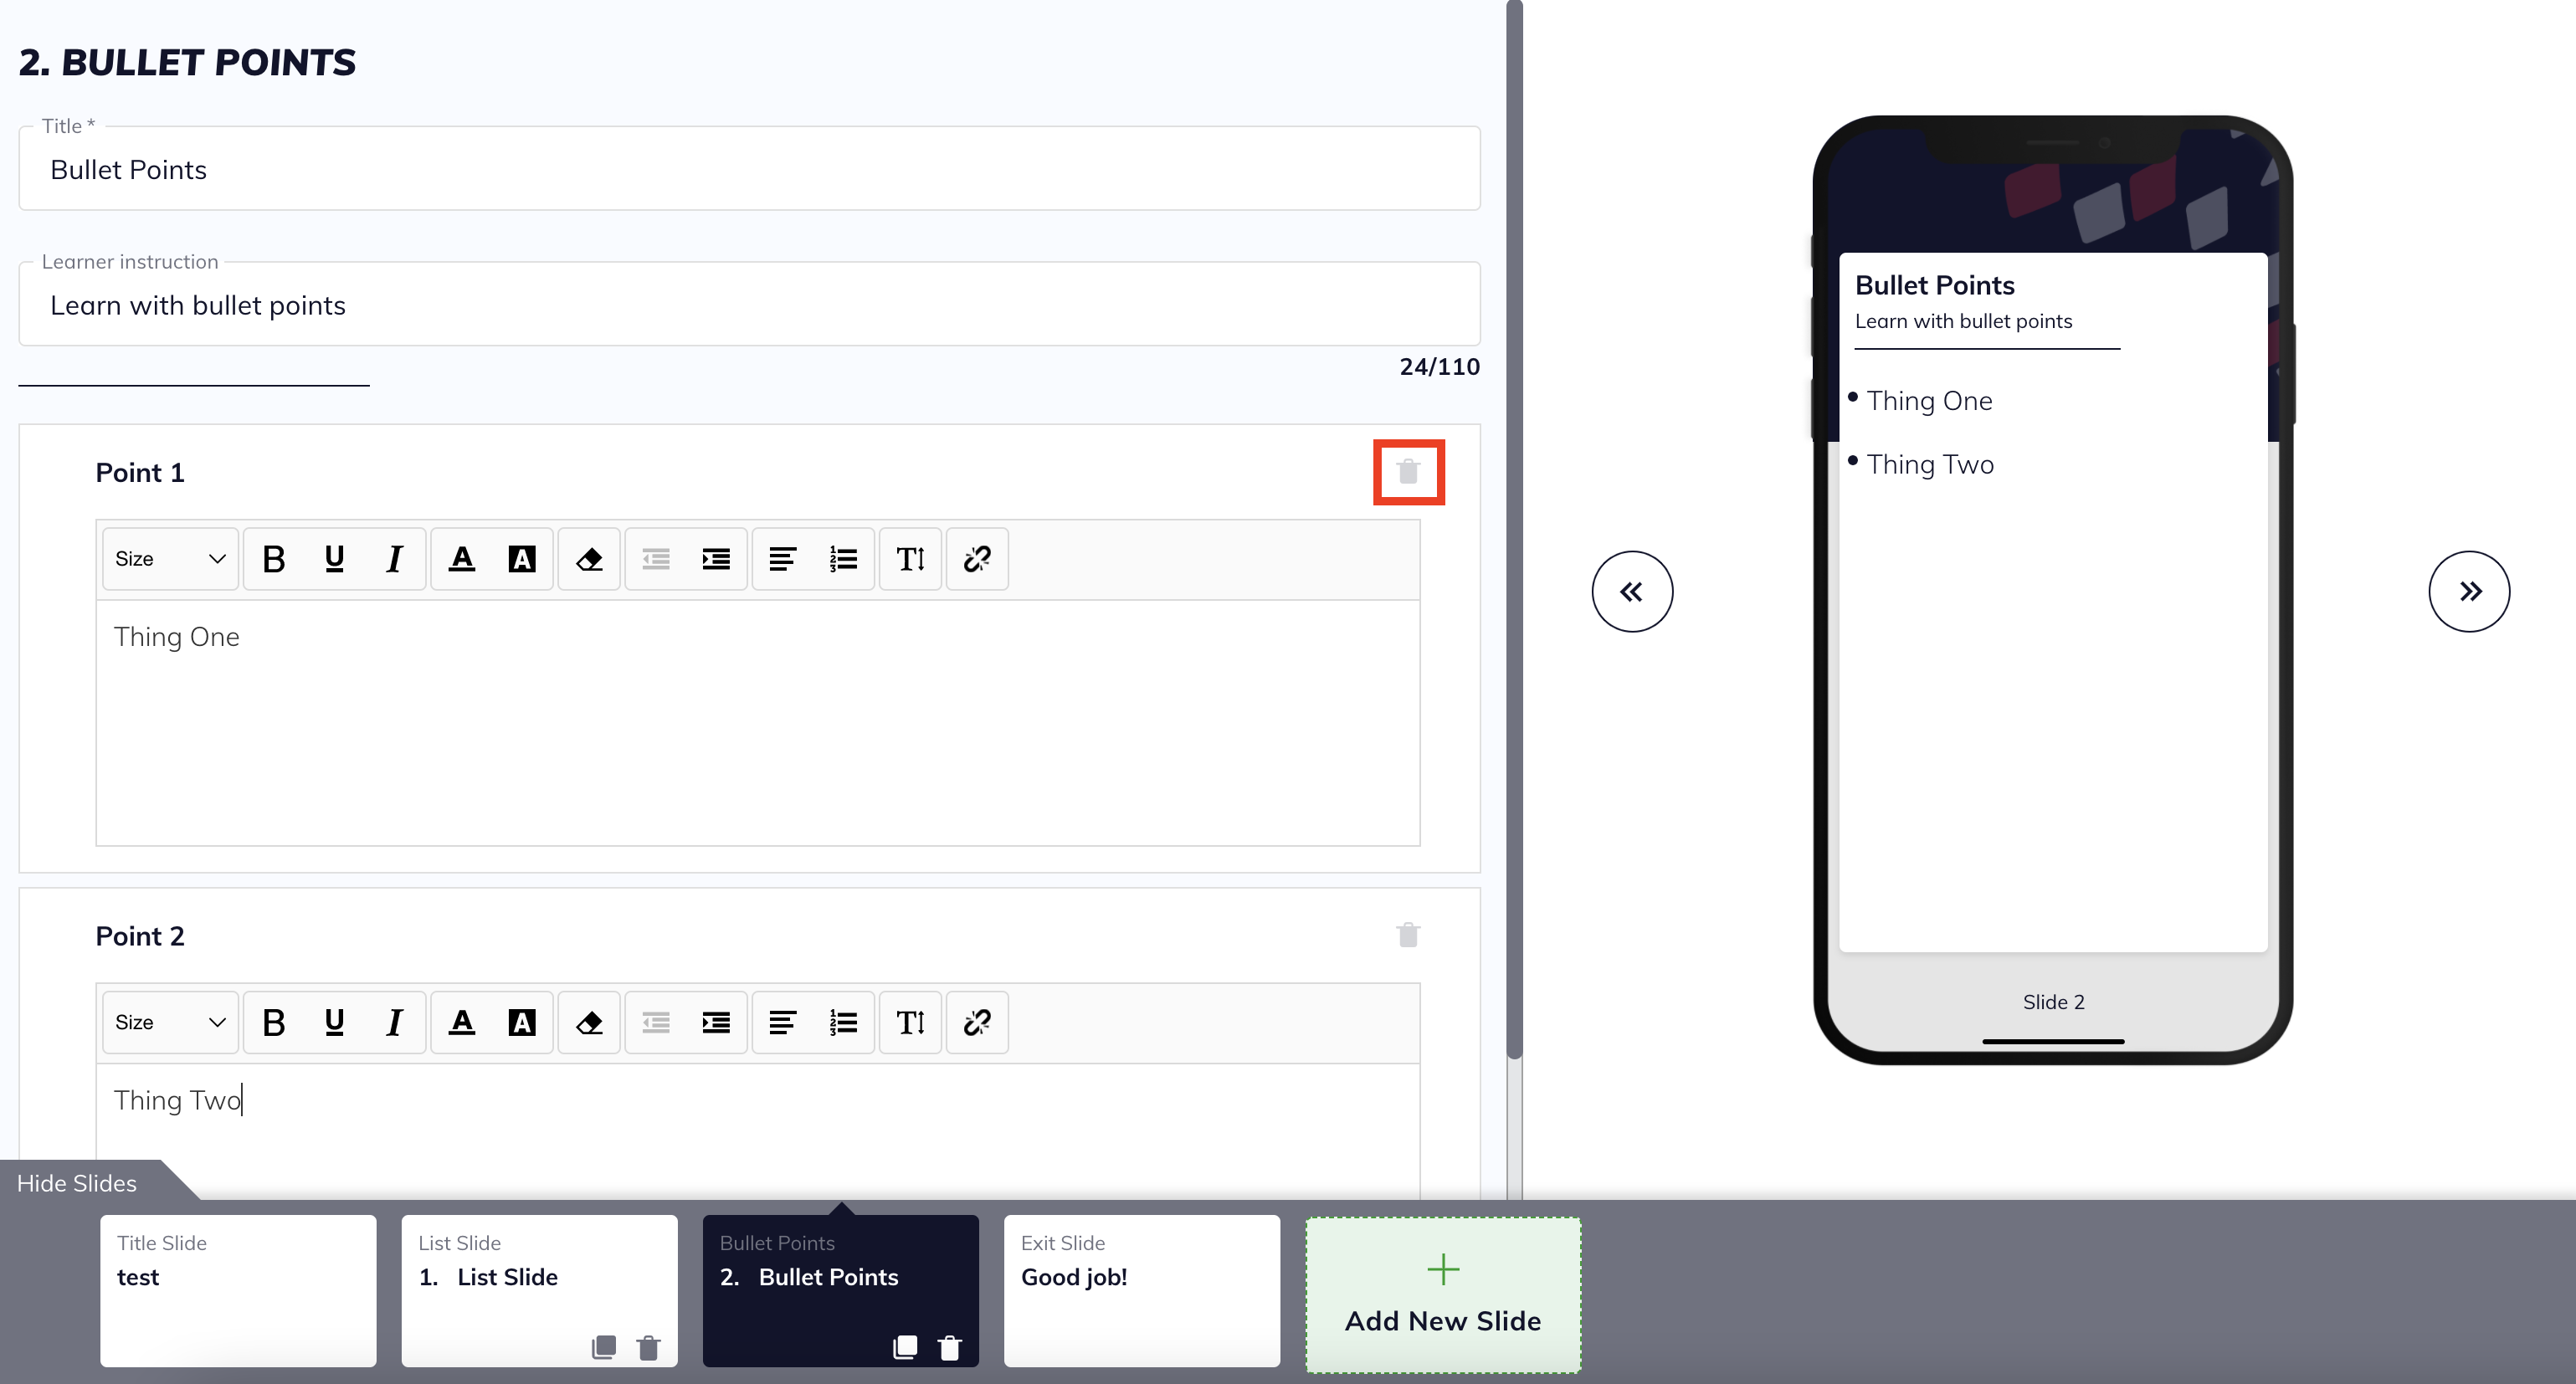
Bullet Points allow you to write notes without the dropdown feature of the List Slide.
Once you’ve created a new lesson and started editing, click Add New Slide and select Bullet Points from the template options.
To delete a Bullet Point, click the trash can icon on the right side of the editor panel.
Media Upload
The Media Upload template allows you to upload text, images, videos, and voiceover/audio.
Once you’ve created a new lesson and started editing, click Add New Slide and select Media Upload from the template options.
The following image displays the media choices available within the editor.

- By selecting Text, you can add text with a variety of formatting options (bold, italics, underline, numbered list, and bullet points).
- By selecting Image or Video, you can add an image or video in three ways.
- Import from the Content Bank tab, select media you have already uploaded to the Content Bank.
- In the Upload tab, upload materials from your computer.
- Instructors and Learners can now skip forward when viewing videos.
- By selecting Audio, you can upload audio from your computer or record audio directly in the platform. This function is similar to the voiceover feature available in other slides.
- Click Add Audio again to upload files from your computer.
- Click the red microphone icon to record audio directly in the editor.
- To add a voiceover to the whole slide, scroll down and select Add voiceover to the slide, then choose to upload audio from your computer or record directly in the editor.
Image Sequencing:
The Image Sequencing template allows you to upload several images in a row that users will swipe through on one slide.
Once you’ve created a new lesson and started editing, click Add New Slide and select Image Sequencing from the template options.
Add an image or video by clicking Image or Video and selecting a file from your computer or the Content Bank, similar to the Media Upload template.
Add teaching points in the text editor.
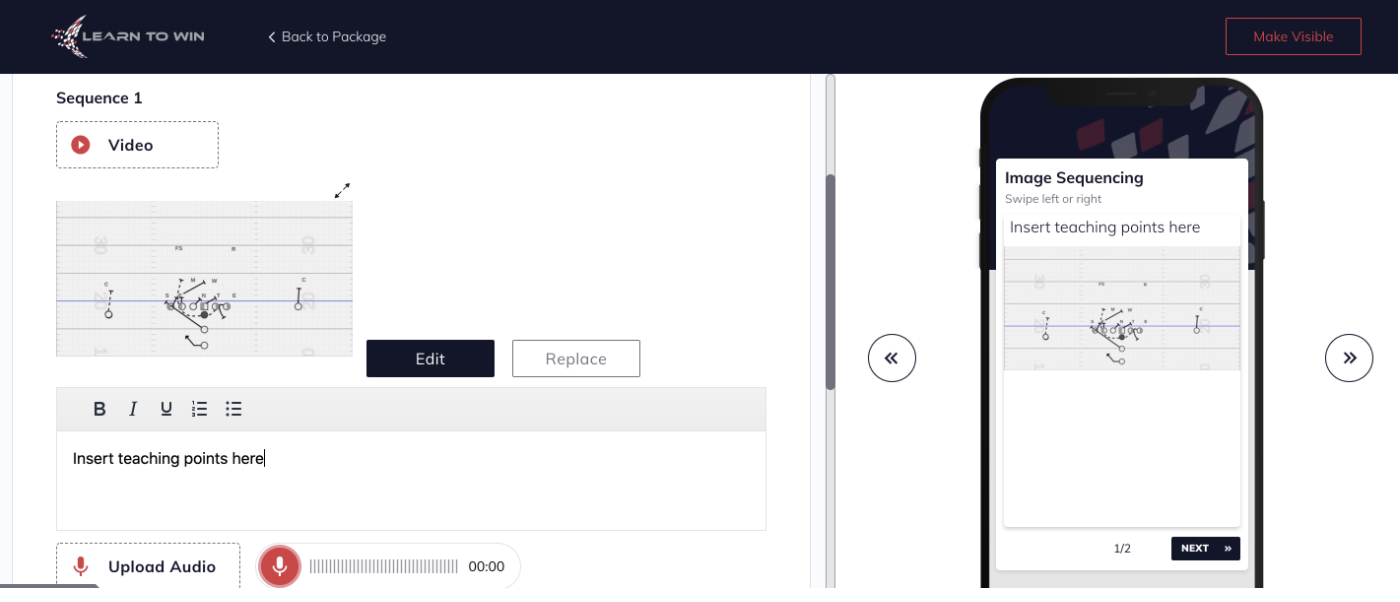
Image Breakdown:
The Image Breakdown template allows you to zoom into different parts of the same image. This template can be used to highlight the roles of individual team members.
Once you’ve created a new lesson and started editing, click Add New Slide and select Image Breakdown from the template options.
Add the original image by clicking Image, then select a file from your computer or the Content Bank.

Click Select Region to add a clip of the original image. Select the region and make any other edits. You can also add text in the text editor box above the Select Region option.